How to Rejuvenate an Overgrown Mrs G.G. Gerbing Azalea
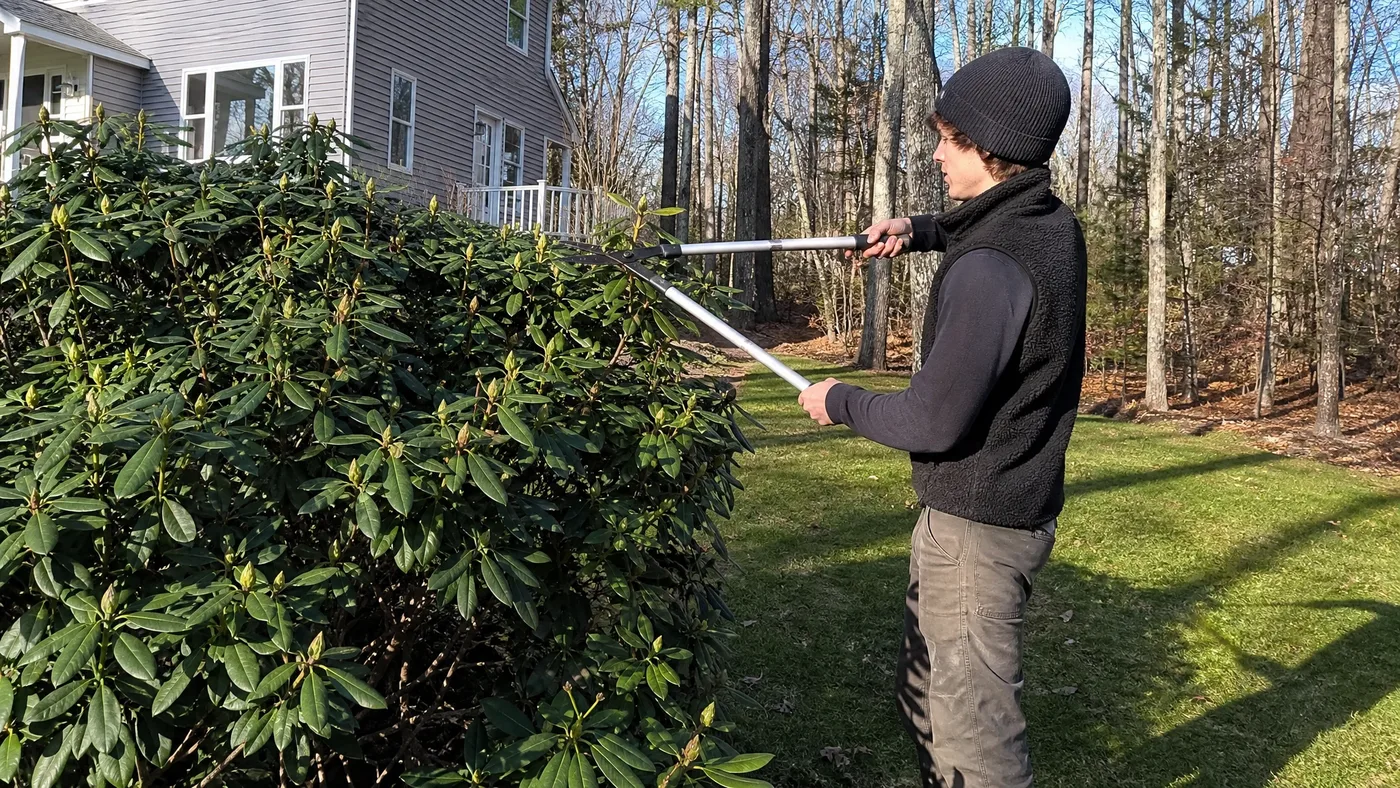
An azalea only ever grows from buds that already sit on its existing stems, so a Mrs G.G. Gerbing that has swallowed a window is a record of years of decisions rather than a lost cause. Plenty of people believe a shrub this woody and bare at the base is too far gone, and that digging it out is the only honest answer. What we see instead is that a leggy plant with a healthy root system usually holds everything it needs to start over.
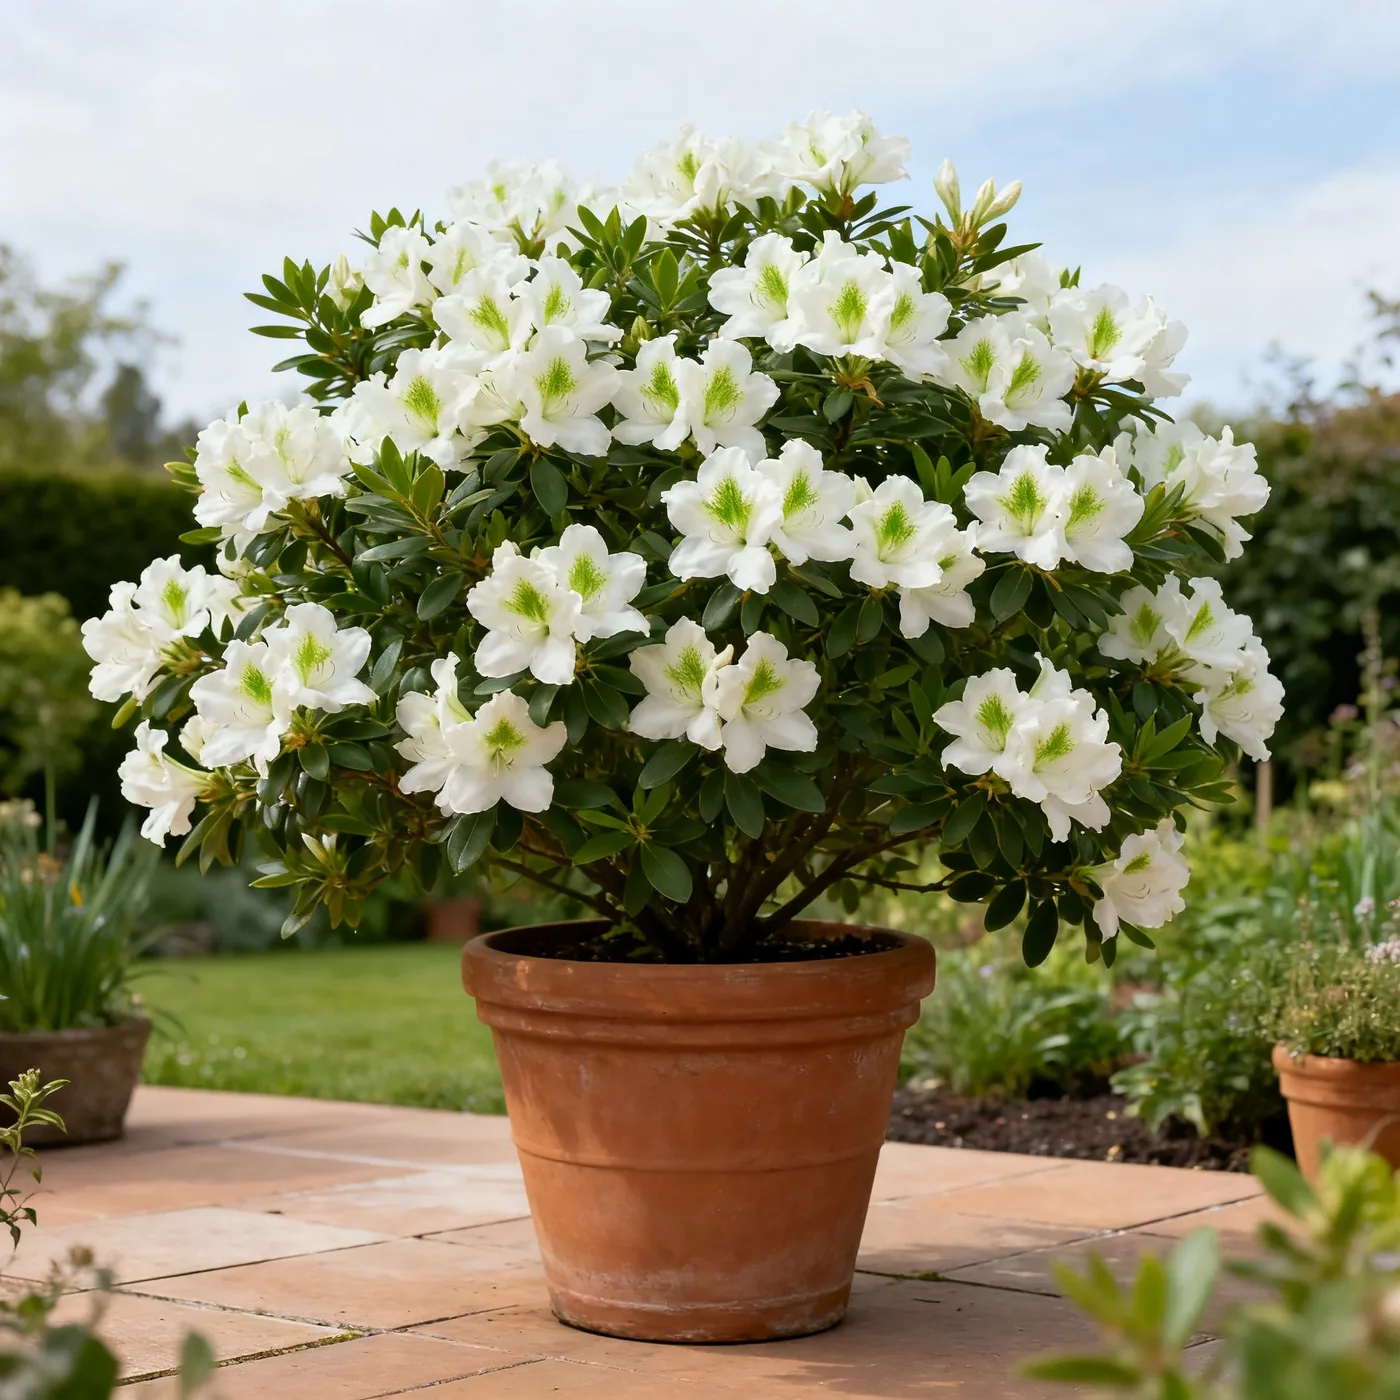
Done badly, hard pruning gives you a row of stubs, a lost year of flowers, or a dead plant. Done well, it gives you a full, dense shrub again at a size that fits the space. This guide covers everything you need to know about rejuvenating an overgrown Mrs G.G. Gerbing, from how the plant builds its wood and where its dormant buds sit, to the order of the cuts, root care and the three-spring timeline back to full bloom.
How a Mrs G.G. Gerbing Azalea Builds Its Branches
Mrs G.G. Gerbing is a Southern Indica hybrid, an evergreen azalea that grows in flushes from the tips of its stems. Each year's growth ends in a cluster of leaves, and the buds that make next year's shoots sit in the axils of those leaves. Flower buds form at the shoot tips in summer. Over time the outer shell of the shrub keeps all the leaves and flowers, while the shaded interior drops its leaves and leaves bare, gray stems behind. That is the leggy look you are dealing with.
Size matters here. The Southern Indica group is listed at 6–12 feet tall and 6–8 feet wide, so a Gerbing that has reached the top of that range is simply growing as its group does. True Rhododendron indicum stays near 2–3 feet, and you should not hold your shrub to that standard. Our guide on how big this azalea gets at maturity covers the full picture.
Why the Roots Set the Pace
Azalea roots are fine, fibrous and shallow, and they sit in the top layer of soil. They cannot supply a plant that has lost most of its leaves, and they dry out fast in open sun. A hard cut removes the leaf area that feeds those roots, so the roots become the limiting factor for regrowth. Everything in the feeding and watering section follows from that.
The rule that comes out of this: cut the top only as hard as the roots can support.
Where Dormant Buds Hide on Old Wood
A thick, bare stem looks lifeless, but it is usually carrying latent buds under the bark. These are the buds left at old leaf nodes from years when that stem still had foliage. They stay quiet while the leafy tips above them dominate the plant. Remove the tips and the buds below wake up. Your whole job in the cutting stage is to leave each stem with buds just below the cut.
Reading the Bark
Look for the places where growth once restarted each year. On an old stem you will see slight swellings, rings of tiny scars, or small knuckles where a whorl of leaves once attached. Those marks are the nodes. A smooth, straight length of stem between two nodes has few buds in it and is the worst place to cut. Scratch a small patch of bark with a thumbnail. Green and moist underneath means the stem is alive, and brown and dry means it is not.
Placing the Cut
Cut just above a node, or just above a cluster of nodes, rather than in the middle of a bare stretch. A stub with no node below the cut tends to dry back to the next live point, and that dieback can cost you the buds you were counting on. Pick the node at the height you want, then cut a short distance above it at a slight angle so water runs off.
If you cannot find a node on a very old stem, cut where you see the most scarring and expect the stem to take longer to respond.
Measuring the Overgrowth Before the First Cut
Stand back before you pick up the loppers. Decide what the shrub needs to be: how tall, how wide, and what it should clear. Then work out how much of the plant you would have to remove to get there. A shrub that is two feet too wide is a different job from one that is four feet too tall and bare to the knees, and the plan should reflect that difference.
Spend ten minutes on these checks, in this order:
- Walk around the whole shrub and mark the main stems at the base. Note which ones are thickest and which carry the most live leaves.
- Scratch-test several stems at different heights, and flag any that are brown, brittle or snap with no flex. Those are deadwood and come out first.
- Check the foliage for stippled or bleached leaves, which point to lace bugs, and look at the base for dark, soft tissue that points to root trouble. Our guide to common problems and fixes helps you sort these out before you cut.
- Look at the site. Cutting opens a shaded interior to sun, so note how much afternoon light the stems will get once the canopy is gone.
- Fix your target height and width, then mark the first cut on the thickest stems with a piece of tape.
One of the most common questions we get is whether a sick shrub can be rescued by pruning. It cannot. Treat pests and drainage first, and only cut a plant that is otherwise healthy.
Hard Pruning a Mrs G.G. Gerbing Azalea in Stages
Timing comes first. Cut right after the spring bloom ends. NC State Extension calls the post-flowering window the best time to cut back azaleas that have outgrown their spot, and says evergreen azaleas send out a flush of growth after harsh pruning. Georgia Extension notes that buds start to set in July, so pruning after early July can cut into next year's flowers. Some advice says to prune in late winter while the plant is dormant, but that removes the flower buds already formed.
How Far Back to Cut
Georgia Extension defines renewal pruning as cutting back to 6 to 12 inches above ground level, and lists azaleas among the shrubs that respond well. That is the outer limit. We have no cultivar-specific figure for how low a Gerbing will go, so treat 6–12 inches as the floor and not the goal. Cutting to knee height or a bit above, at a node, is safer and leaves more buds in play.
One Season or Two
What we tell customers is to split the job over two seasons unless the plant is vigorous and the climate is mild. In the first year, remove deadwood and cut roughly half of the oldest, thickest stems. Leave the rest standing so leaves keep feeding the roots. The next year, after the new growth has filled in, cut the remaining old stems. In the cooler edge of the range, where Southern Indica hybrids are not reliably hardy, the two-step approach also keeps more wood in place for winter.
The Cutting Sequence
Work through the cuts in this order so you never have to guess what comes next:
- Sharpen and clean your loppers and pruning saw.
- Cut out all deadwood back to live, green-scratching wood or to the base.
- Cut the thickest old stems to your chosen height, each just above a node.
- Remove crossing or rubbing stems so light can reach the center.
- Rake away debris, then water deeply the same day.
Our shorter guide on yearly pruning covers the light trims you do after the shrub is back.
Feeding and Watering the Roots Behind the Regrowth
Once the canopy is gone, the roots carry the plant. The order of work matters more than the amounts, so follow it in sequence: water, mulch, wait for growth, then feed.
The First Two Weeks
Water deeply the day you cut, then keep the soil evenly moist but never soggy. Shallow azalea roots dry fast once the shade is gone, and a cut plant has little leaf area to pull water through, so overwatering is a real risk too. Poor drainage is the most serious azalea problem, and Penn State warns that fungicides only delay death once root rot sets in. Add a layer of mulch over the root zone and keep it off the stems. See our watering guide for the details.
Soil Check and Feeding
Test the soil before you add anything. Purdue says azaleas need cool, moist, acid soil at pH 4.5 to 5.5. If the pH has crept up, yellowing new leaves are the usual first sign, and fixing it will do more for regrowth than extra fertilizer. Feed lightly with an acid-plant fertilizer once new shoots are clearly growing, following the label. Heavy feeding on a stressed root system burns it. Our fertilizing guide goes through products and timing.
The short version: water first, test second, feed last.
Three Springs of Rebloom, Year by Year
Georgia Extension says renewal pruning should give abundant new growth by mid-summer, and that is what you will see in the first year. Flowers take longer. NC State notes evergreen azaleas can flower the next year after harsh pruning, but we do not count on it for a big Southern Indica cut to the ground. Plan on three springs, and be glad of any early flowers. The table shows what we expect.
| When | What you see | What to do |
|---|---|---|
| Cut year, summer | New shoots from the old stems, often a full flush by mid-summer | Water, mulch, feed lightly once shoots grow |
| Second spring | Foliage fills out, thin bloom or none | Pinch back only stray shoots, and cut the second half of stems if you are staging |
| Third spring | Dense mound with bloom across the outer shell | Return to light trimming after flowering |
| Years after | Compact shrub in the space you chose | Prune right after bloom, every year, and keep it small |
In our rows, the shrubs that look worst in the second spring are often the ones that bloom best in the third. Do not cut again out of frustration. Wait for the third spring before you judge the result, and use the second spring only to pinch back shoots that stray outside your target outline.
When a Mrs G.G. Gerbing Azalea Will Not Resprout
Most hard-pruned azaleas respond, but not all do. The key is to judge late. A cut in late spring should show swelling buds and tiny leaf clusters within weeks, and by mid-summer the stems should be covered in new shoots. If you see nothing by then, start diagnosing before you give up.
Signs of Failed Regrowth
Scratch the stems again. Green means alive and the plant may just be slow. Brown, dry wood from the cut down to the base means the stems are dead. Look at the crown, too: dark, soft tissue, wilting despite moist soil, and leaves that turn yellow before any new growth appears all point to root rot. Dieback that stops at a node and leaves living wood below is fine. Cut it off back to that live node.
Replace or Wait
If some stems are alive and others are not, keep the shrub and prune off the dead wood. If the crown is dark and soft, or no stem scratches green, replace the plant. Before you do, improve drainage or move to a better site, because a new azalea in the same wet spot will meet the same fate. Our planting guide shows how to set up the replacement.
Patience Pays Off for Mrs G.G. Gerbing Azalea
An overgrown Mrs G.G. Gerbing is rarely finished. The plant grows from buds that already sit on its old stems, the roots carry the recovery, and a cut made at the right time, just above a node and not later than early July, gives you a full shrub in the size you choose. Staging the cuts over two seasons costs you time but protects the plant, and the thin bloom in the second spring is normal.
The order of the work is plain: cut, feed, wait, and let the third spring show the result.
Mrs G.G. Gerbing Azalea
Nursery-grown Mrs G.G. Gerbing Azalea in sizes from 1 Gallon, shipped to your door.
From $26.99
Shop Now →Gerbing plants here put down roots in acidic, well-drained beds that get sun in the morning and shade once the day warms, which is why the ones we raise stay full and take well to renewal. Because we are a small business that grows its own top-quality shrubs, you can count on every plant coming from our care. If your old shrub is ready for a fresh start, have a look at what is in stock now.