How to Replace a Dead Mrs G.G. Gerbing Azalea in a Hedge
From the porch, the hedge looks like a green wall with one tooth missing. One plant in the middle of a thirty-foot row has gone brown, its leaves curled and dull, while the Mrs G.G. Gerbing azaleas on either side stay glossy and ready to flower in spring. You can see the gap from the street, and you know it will be there every April.
Gerbing builds its size gradually, so a plant dropped into that gap will trail its neighbors for years unless you start it large and look after it closely. In this article, we'll go through finding out what killed the plant, lifting the old root ball safely, choosing and planting a 15-gallon replacement, and watering it through its first summer.
Thirty Feet of Hedge and One Brown Gap
Here is the hedge we will follow from start to finish. It runs thirty feet along a property line with six Mrs G.G. Gerbing azaleas set about five feet apart. Counting from the driveway end, plant number four died over the winter and was plainly brown by late spring. The five survivors stand roughly four feet tall and have grown together into one screen. Swap in your own numbers, because the method stays the same.
The proportions matter more than the exact figures. Southern Indica hybrids as a group reach 6 to 12 feet tall and 6 to 8 feet wide, so five-foot spacing is built to knit into a solid row, and the neighbors' roots have already crept into the dead plant's space. Our guide to spacing Gerbing for hedges and borders explains why we plan rows that way.
Neighbors may lean toward the light, but they will not close a five-foot hole on their own, so a replacement is the honest fix. Before anyone picks up a shovel, settle the plan. In our example the job comes down to four decisions:
- Learn why plant four died, because a replacement set into the same problem will follow it.
- Take out the old root ball without cutting into the roots of plants three and five.
- Buy a 15-gallon replacement instead of a small pot, so it starts closer to the neighbors' size.
- Plant it at the right height and water it on a set schedule through its whole first summer.
One dead plant is a repair job, not a redesign.
What Killed This Mrs G.G. Gerbing Azalea?
Diagnose before you buy, because the cause is still in the ground and will take the next plant too. A dead plant and an open hole give you the best evidence you will ever get. Scrape back the mulch, dig along the outer edge of the root ball on the side facing away from the neighbors, and look at what holds the plant in the soil.
Read the Roots
Living azalea roots are fine, pale to tan and firm, and they bind the root ball into one mass. Rotted roots are brown or black and mushy, and the outer layer slips off like a sleeve, leaving a bare thread. NC State notes that many cultivars in the Southern Indica group are susceptible to Phytophthora root rot, and Penn State extension says fungicides on infected plants only delay death.
A hard, shrunken ball in dust-dry soil points the other way, to drought. That is a common loss in the first summer after planting, and it is the easiest cause to prevent in the replacement.
Read the Soil
Squeeze a handful from the bottom of the hole. If it holds as a sticky, wet ball, or the hole fills with water after rain, drainage is your culprit. The Texas A&M plant disease handbook says azaleas are much more susceptible to root rot when planted in poorly drained areas or planted too deeply, so also check whether the root flare was buried under soil or mulch.
Then test the pH. University of Georgia Extension says azaleas prefer well-drained, organic soils with an acidic pH between 4.5 and 6.0, and your local extension office can run a soil test on the hedge bed. Look at the neighbors' leaves too, since a bed that has drifted out of range affects the whole row.
This table matches what you find to the likely cause and the plan for the new plant.
| What you find | Likely cause | Plan for the replacement |
|---|---|---|
| Brown, mushy roots, bark slipping, wet soil | Root rot from poor drainage | Fix drainage first and plant slightly high |
| Hard, tight ball and dry soil | Drought or thin first-year watering | Replace as planned and follow the watering schedule below |
| Healthy roots, dead stems above ground | Winter injury | Replace, and cut neighbors' damaged tips after they bloom |
| Healthy roots, bleached or stippled leaves across the row | Lace bugs weakening the plants | Check leaf undersides on all six plants before planting |
If you find rot, treat the other five plants as suspects and watch them through the next wet season.
Lifting the Dead Root Ball Without Hurting Neighbors
Gerbing roots form a tight mat close to the surface. Mississippi State's extension describes azaleas as having an extremely fibrous root system that stays relatively shallow, so the roots of plants three and five almost certainly overlap the dead plant's ball. Your job is to cut a clean boundary and lift only what is yours to remove.
In our example the old ball measures about 18 inches across, so we plan a cut about 20 inches across. Work from the gap side only, and keep your spade a few inches back from the neighbors' trunks. We often see people swing a mattock through the hedge to hurry things along, and the torn roots cost the row a season of growth.
Work in this order:
- Water the whole bed lightly the day before, so the soil holds together and the neighbors are not stressed while you dig.
- Cut the dead stems down to short stubs so you can see and reach the trunk.
- Push a flat spade straight down in a circle about 20 inches across, and cut any root running toward a neighbor with loppers or a pruning saw instead of tearing it.
- Angle the spade under the ball, pry it up in sections if it fights you, and lift it out onto a tarp.
- Rake out stray dead roots from the hole, especially if you found rot.
- Bag the plant and roots and take them away from the hedge instead of composting them.
If the soil is wet, leave the hole open for a day and watch how fast it drains. A hole that stays muddy is telling you what the soil squeeze could not. Meanwhile, cover any exposed neighbor roots with soil right away, because fine azalea roots dry out quickly in open air.
Choosing a 15-Gallon Mrs G.G. Gerbing Azalea to Match
One of the most common questions we get is whether a cheap one-gallon plant will catch up if you give it time. Common advice says small plants establish faster and overtake bigger ones, but Gerbing builds size gradually, and next to a hedge that has filled out for years a small plant simply starts far behind. Start large and the wait shrinks to a few seasons.
Match Size and Fullness
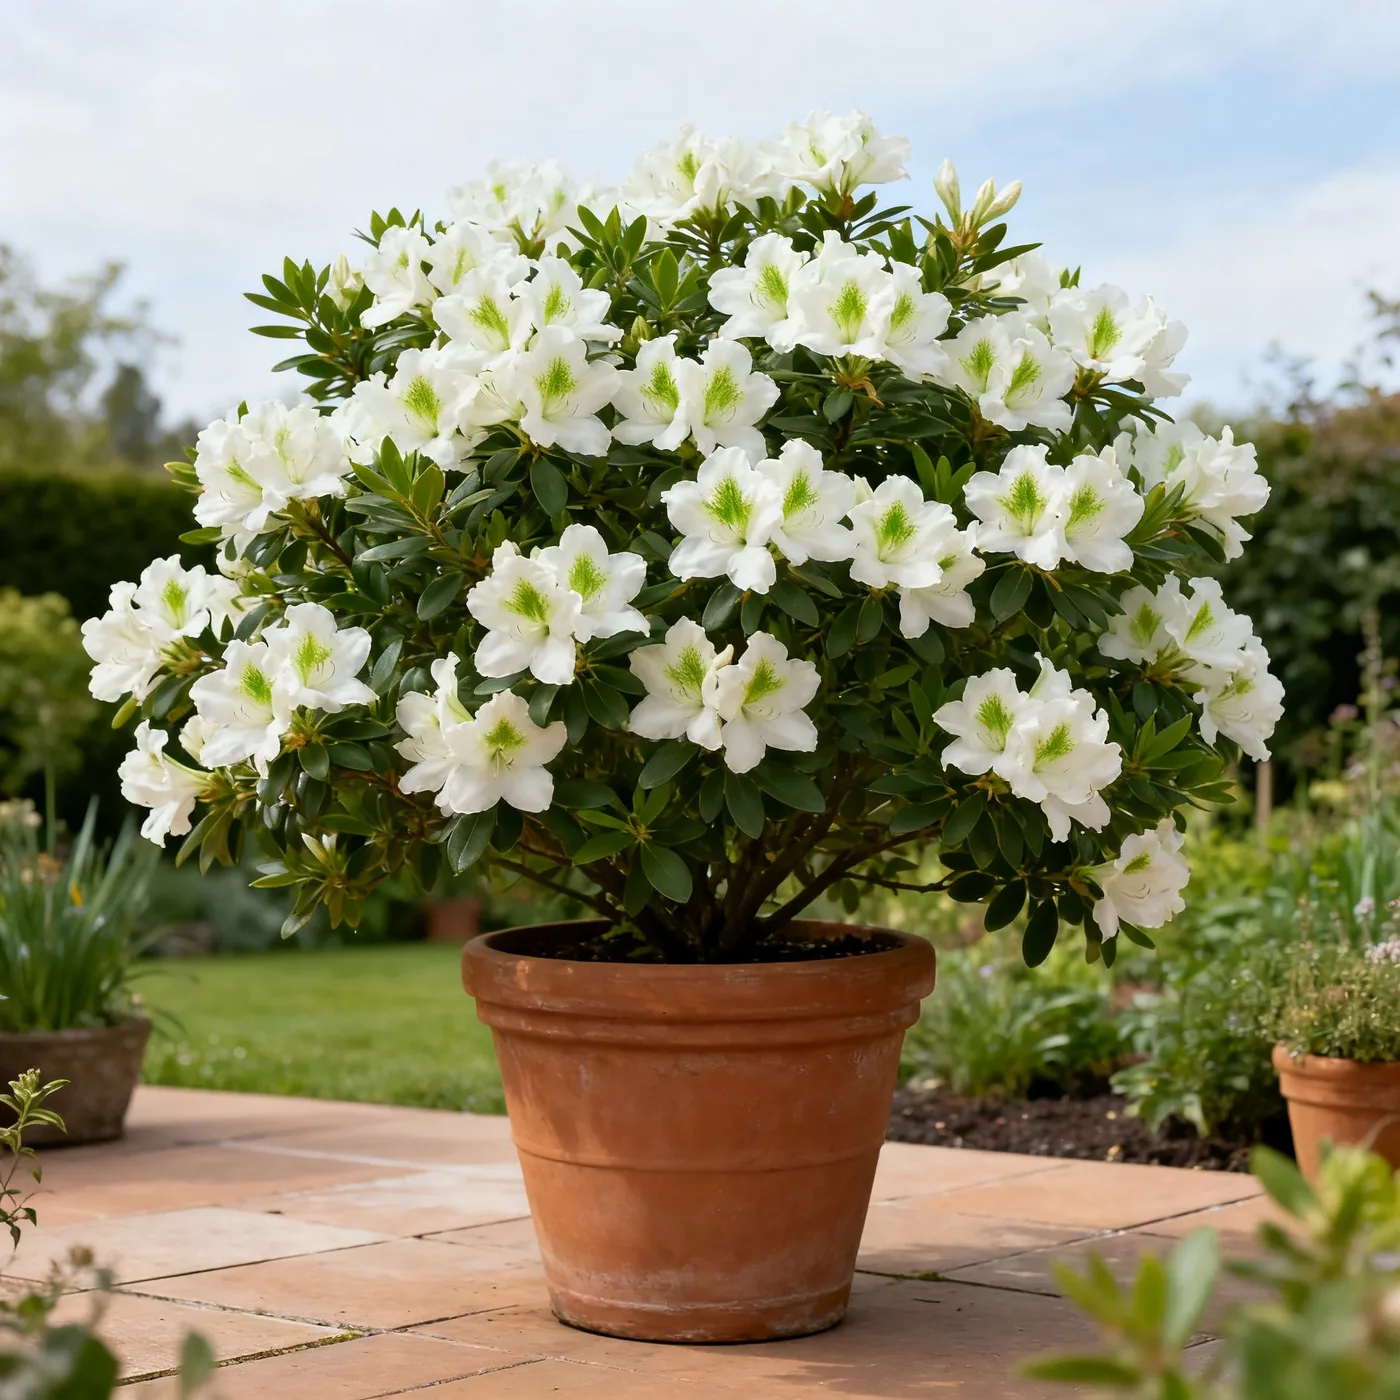
In our example the neighbors stand about four feet tall, so we choose a 15-gallon plant as the largest container we can reasonably handle and plant. Our guide to Gerbing container sizes shows how the pots compare. Look for a full, evenly branched plant with deep green foliage like the hedge, and plan to slide it into place, because a 15-gallon plant is heavy.
Check the Plant Before You Plant It
Slide the plant out of its pot or ask to see the root ball. You want white to tan roots reaching the edge of the soil, not a solid knot of circling roots and not a soggy, dark ball. Turn leaves over as well, since University of Delaware extension notes lace bugs cause bronzed or bleached-out leaves by sucking out leaf cell contents.
Ask for the cultivar by name. Southern Indica azaleas include many look-alikes, and a near match may not open its flowers with your hedge in spring. A label reading Mrs G.G. Gerbing is your best guarantee that the new plant will bloom in step with its neighbors.
Pick the Planting Window
Fall is the best season to plant shrubs in South Carolina for root growth and establishment. Spring works too, but it makes the watering schedule below more demanding. Check with your local extension service for the best planting window where you live, because it shifts with climate.
Refilling the Hole and Planting the New Mrs G.G. Gerbing Azalea
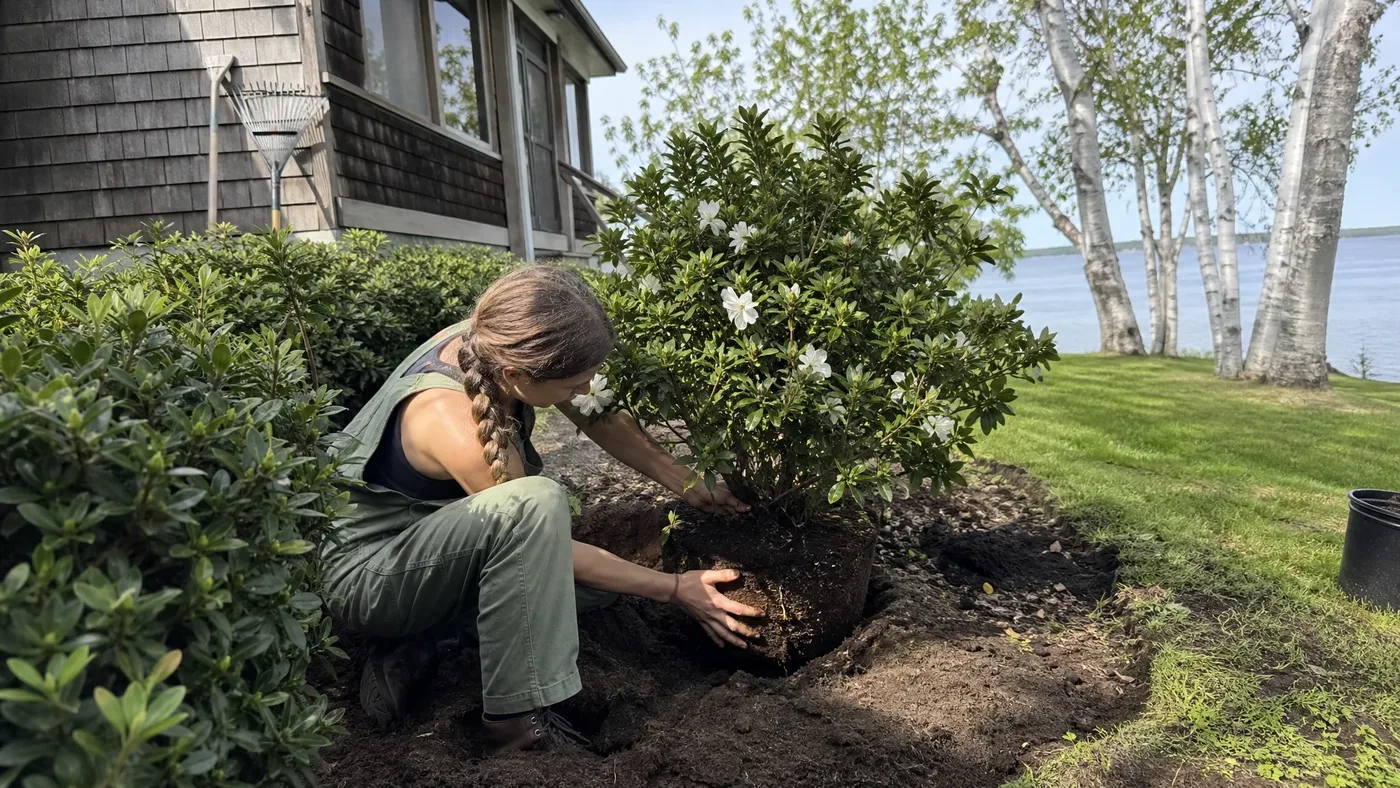
Your hole is already open and you have read its soil, so planting is mostly a matter of discipline. Mississippi State's guidance is to dig a hole two to three times as wide as the root ball. For an 18-inch ball that is 36 to 54 inches, and at five-foot spacing we stay near 36 so the spade never strays into the neighbors' roots.
Fix the Soil First
What you found in the diagnosis decides this step. If the hole drained well and the pH tested in range, refill with the soil you dug out, blended with organic matter. If water stood in the hole, do not plant into a bathtub: set the plant a little high and build soil up around it. Our guide to soil, pH and drainage goes deeper on both fixes.
Set the Height and Spacing
Dig only as deep as the root ball. Clemson's extension says the top of the root ball should be level with or just slightly higher than the ground, never lower. Run a string between the tops of plants three and five, center the new plant five feet from each, and check that the top of its ball sits at or just above the soil line.
In our rows, the azaleas that struggle after planting are nearly always the ones set too deep. Loosen any circling roots with your fingers, backfill in layers, firm the soil gently with your hands, and water until the whole ball is soaked. For the basics of a first planting, our guide on planting Gerbing for best results covers the same steps.
Mulch the Bed
Spread 3 to 4 inches of mulch, or 6 to 8 inches of pine straw, tapered to only 1 inch deep at the base of the plant. Lay it across the whole gap so the new plant matches the look of the row, and keep it off the trunk. A mulch volcano against the stem invites the same buried-flare problem you may have just diagnosed.
Watering Through the First Summer, Week by Week
This is the schedule we would follow for plant four, planted in spring. Clemson's extension says watering newly planted azaleas is essential, especially in spring, and its shrub guidance adds that for the first year you should direct water to the root ball because the roots have not yet spread into the surrounding soil. Our complete watering guide gives the longer picture.
Weeks One and Two
Check the ball every day. Push a finger a couple of inches into the ball itself, not the bed beside it, because the potting mix and the garden soil behave as two different materials. The ball can be dry while the bed looks damp, since the neighbors' roots are also drawing on the soil. If the ball is barely damp, trickle water slowly at the base until it soaks through.
Weeks Three Through Eight
New roots begin to move out, so check every couple of days and give one deep, slow soak when the top of the ball dries, instead of frequent sips. Read the leaves. Dull or drooping leaves in the afternoon that recover by morning mean thirst. Limp leaves in the morning with wet soil mean stop watering, because that pattern is how the rot we looked for earlier begins.
Midsummer Into Fall
Settle into a deep soak about once a week when there is no rain, and add extra water during heat waves. Widen the watering ring a little toward the neighbors as the roots spread, and top up the mulch if it has thinned. Leave the new plant unpruned. After the next spring bloom, trim only the neighbors' strongest shoots to keep the line level while the newcomer catches up.
Deep, slow and aimed at the ball is the whole schedule.
Closing the Gap in a Mrs G.G. Gerbing Azalea Hedge
A few springs later, the hedge is hard to read as a repair. The new plant has filled its five feet, the foliage matches the neighbors, and in April the flowers open in step along the whole thirty feet. Only a person who remembers the brown gap could pick out plant four, and from the porch even that has become a guess.
The steps that got it there were few: find the cause in the roots and soil, cut a clean boundary when lifting, buy a 15-gallon plant to match the neighbors, set it level with or just above the ground, and water the ball deeply all summer.
Mrs G.G. Gerbing Azalea
Nursery-grown Mrs G.G. Gerbing Azalea in sizes from 1 Gallon, shipped to your door.
From $26.99
Shop Now →Tending Mrs G.G. Gerbing on our own farms means giving it acidic, well-drained beds with dappled light, the same kind of spot that suits the gap in your hedge. A small business like ours grows its own stock, so each top-quality shrub has been in our care from the start. If you are ready to fill that space, we would love for you to browse what is in stock now.